Category Archives: Hobbies

Bunk Bed for Joseph

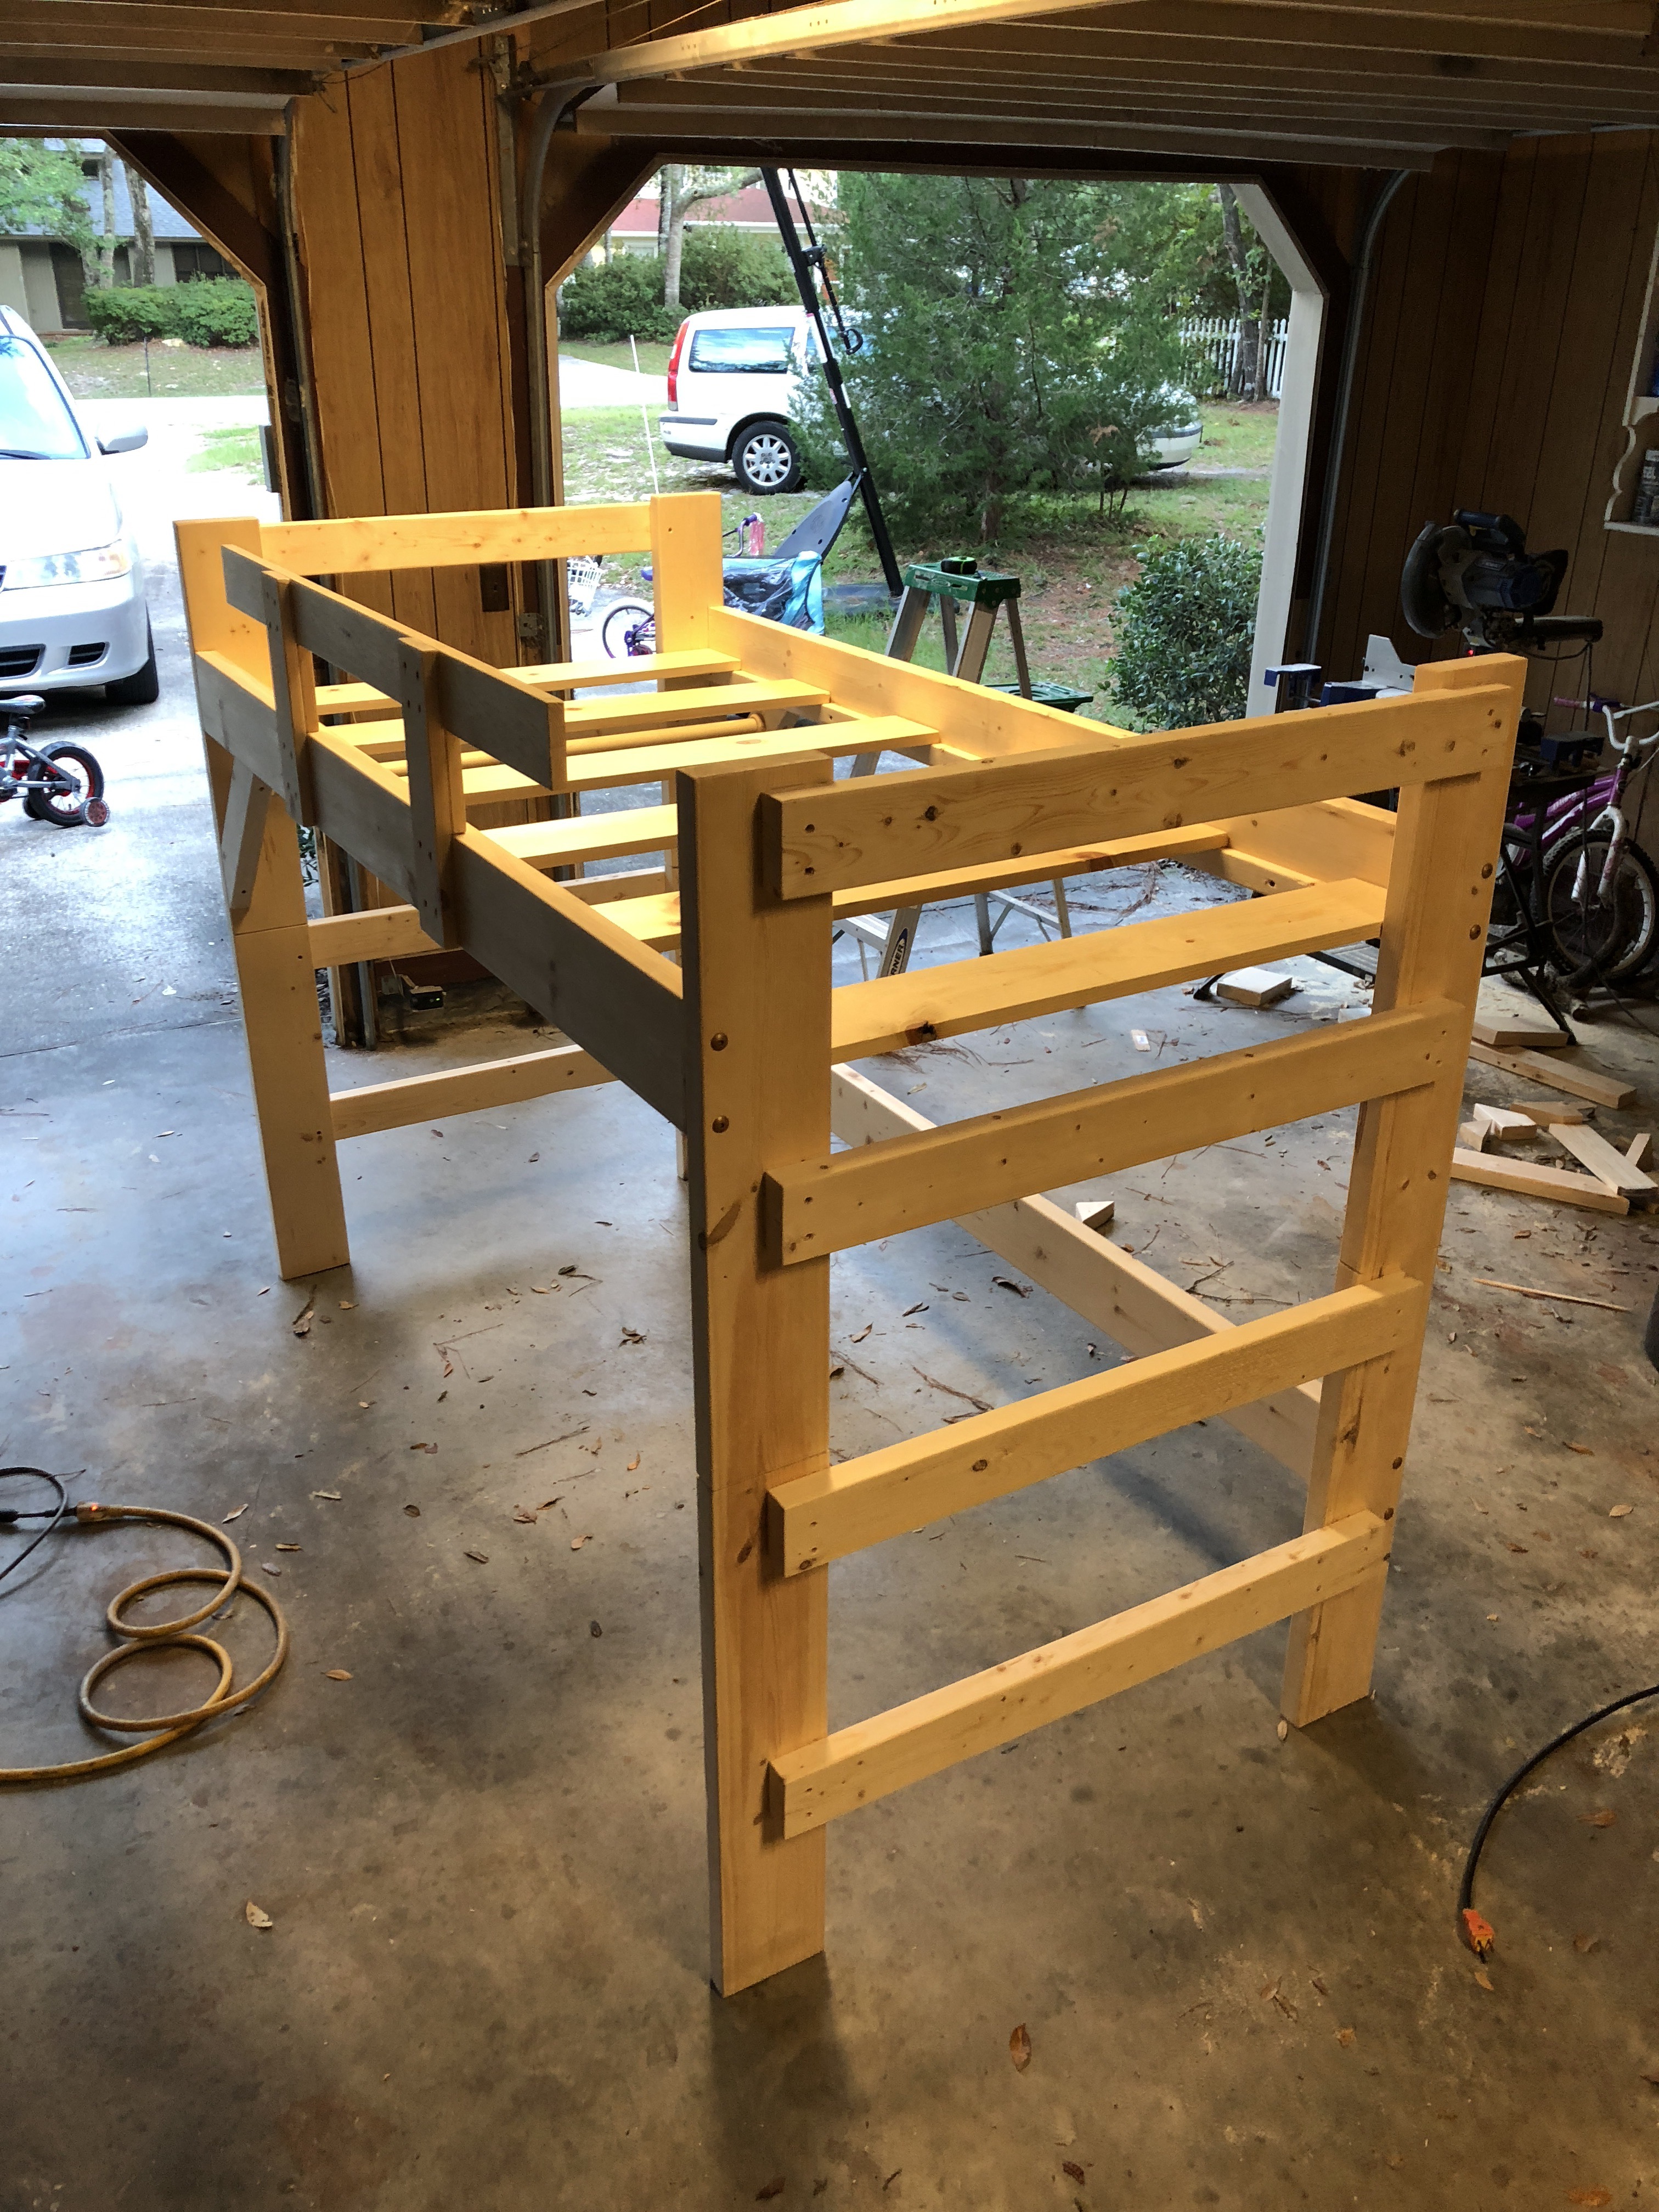
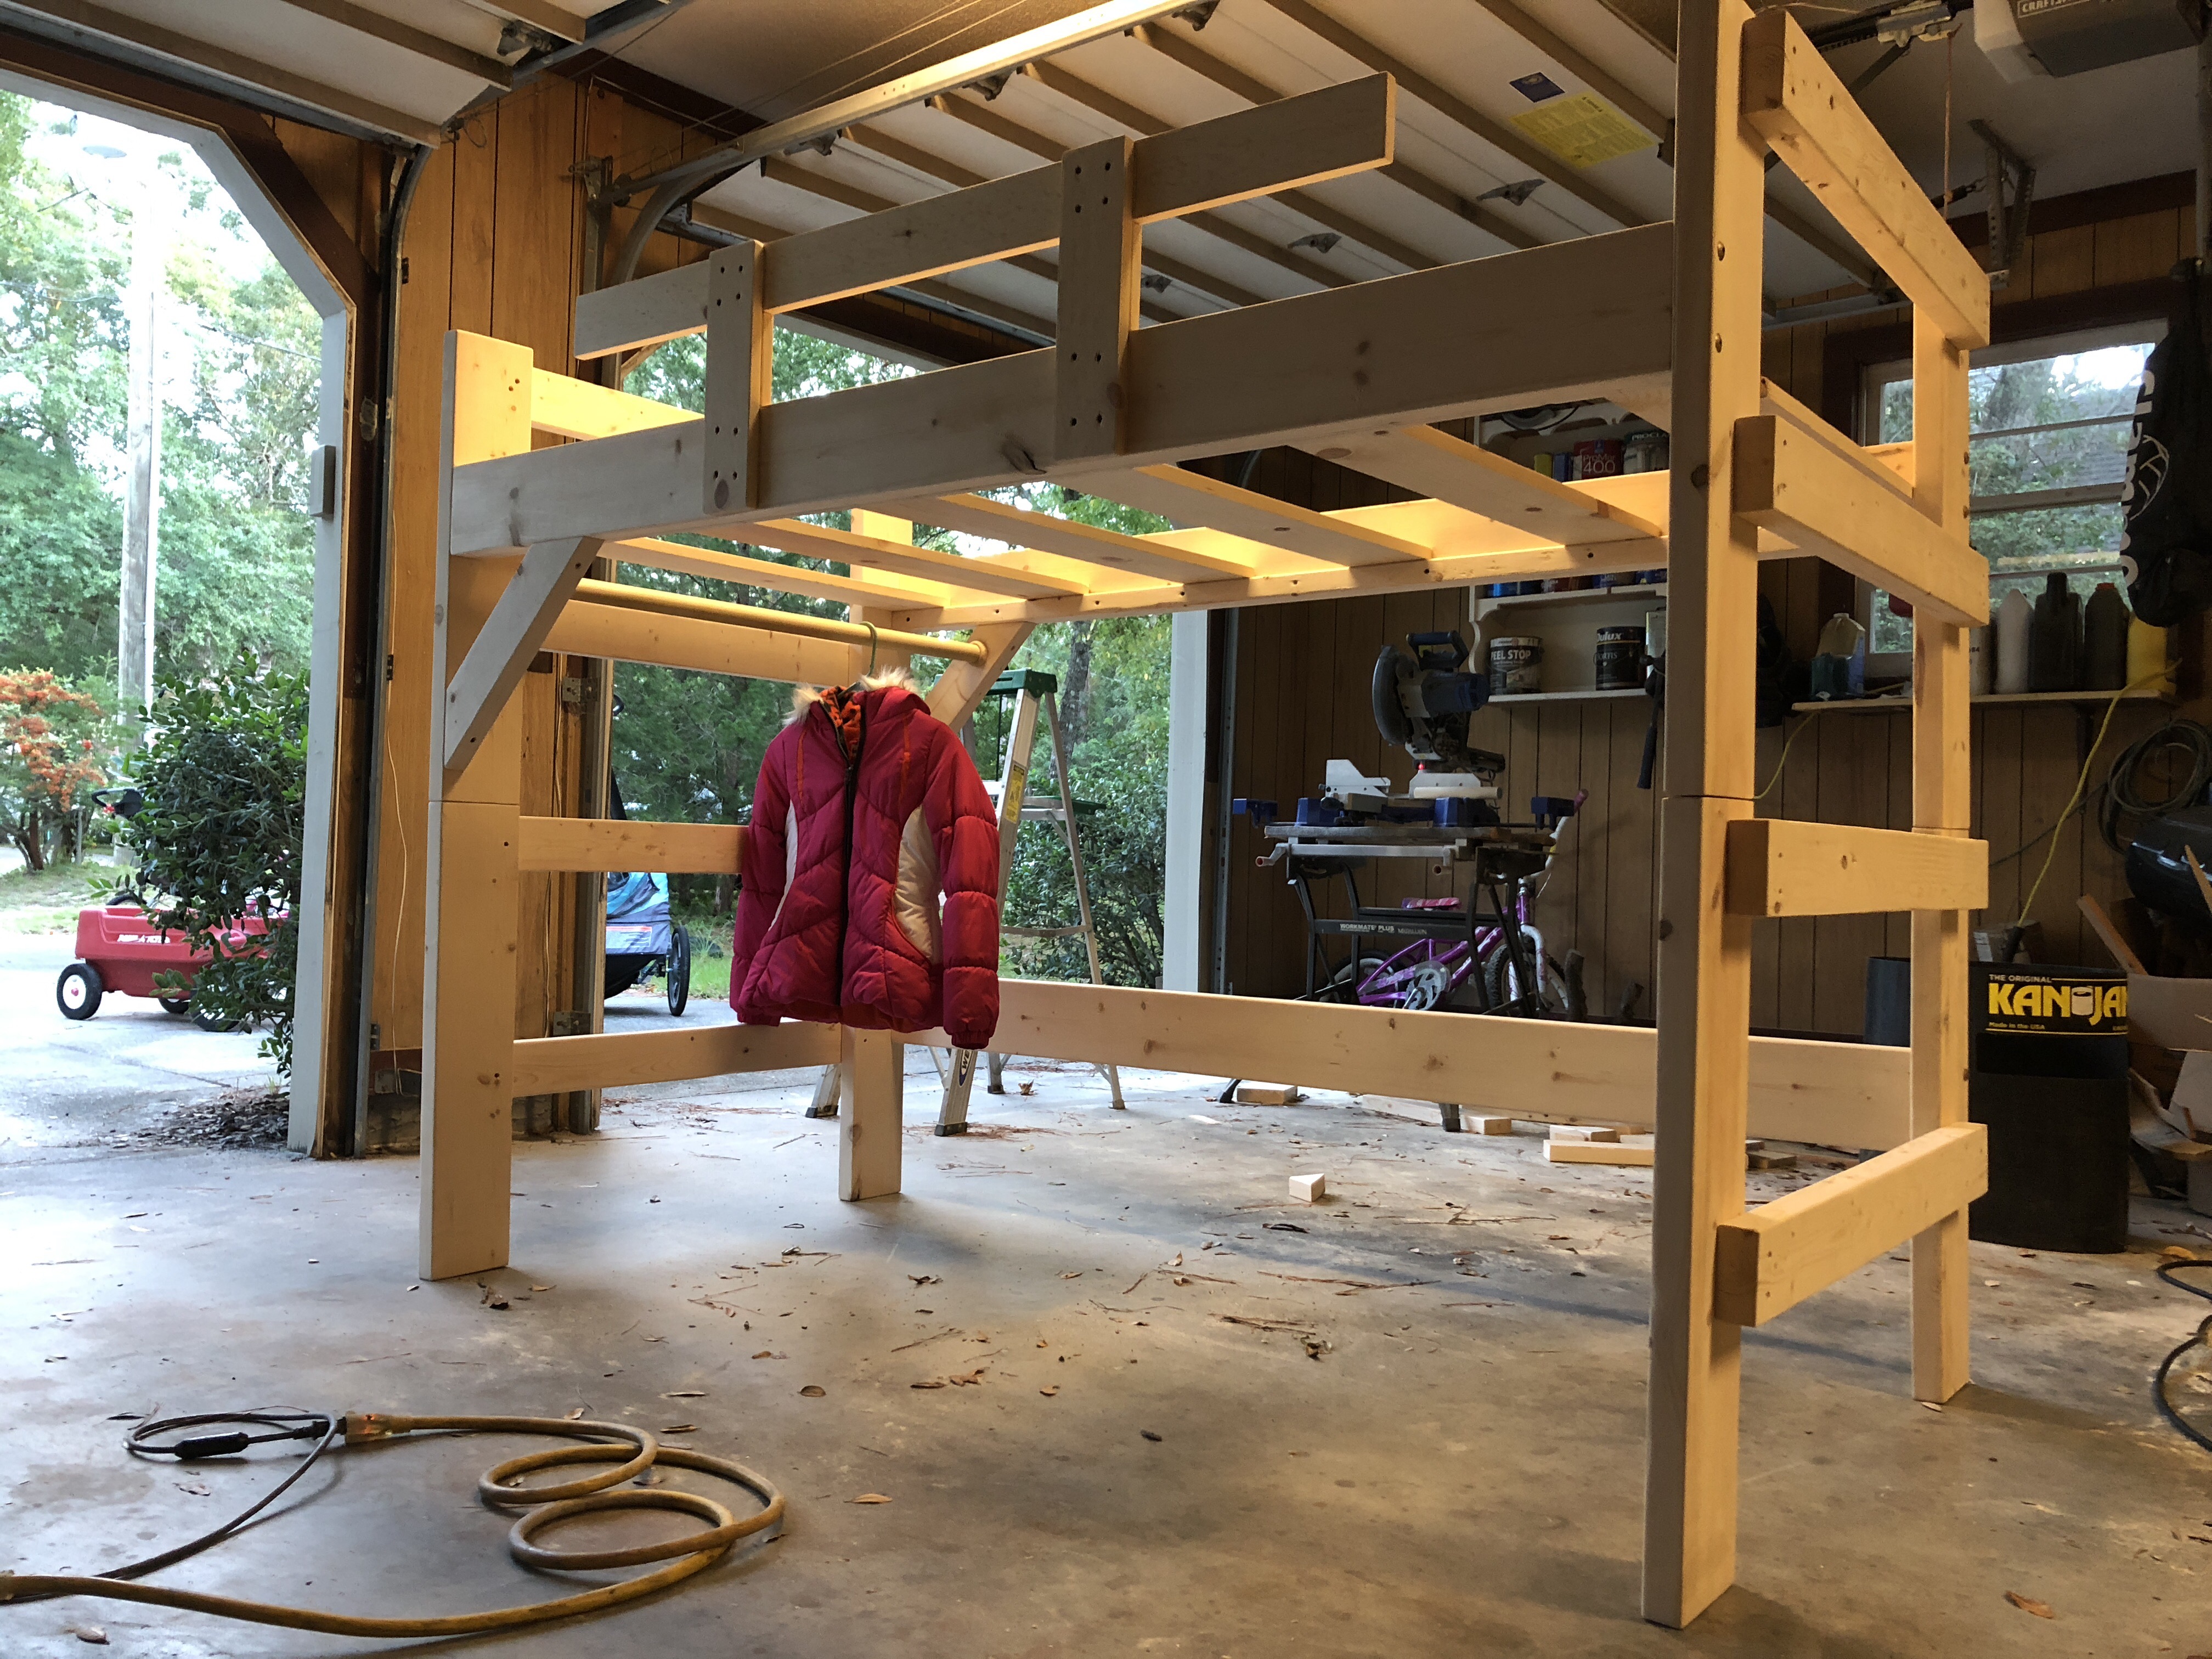
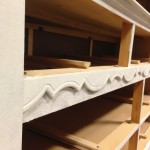
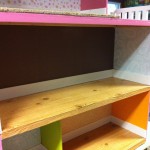
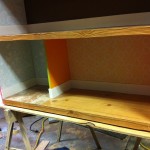
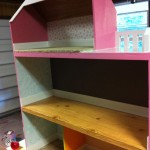
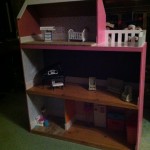
I built Joseph a bunkbed for his 4th(!) birthday. I don’t have much for gratuitous making-of photos, but here are a few of the finished product. Let me know if you’re interested in more detailed pictures (up close, joints, connections, that kind of thing).

Update: I made a video when I built a bunk bed for Joseph’s cousin, Bella.

The wood is top choice white pine, which you can find at your local Lowes/Home Depot.

I knew staining it would be a bad idea as Joseph would likely end up denting and marring it (he’s rough, and pine is soft), so I kept it the natural look, which I like quite a bit. And to help protect against fingerprints and such, I used this Minwax water-based Poly.

Monitor Stand (made from Pallet wood)

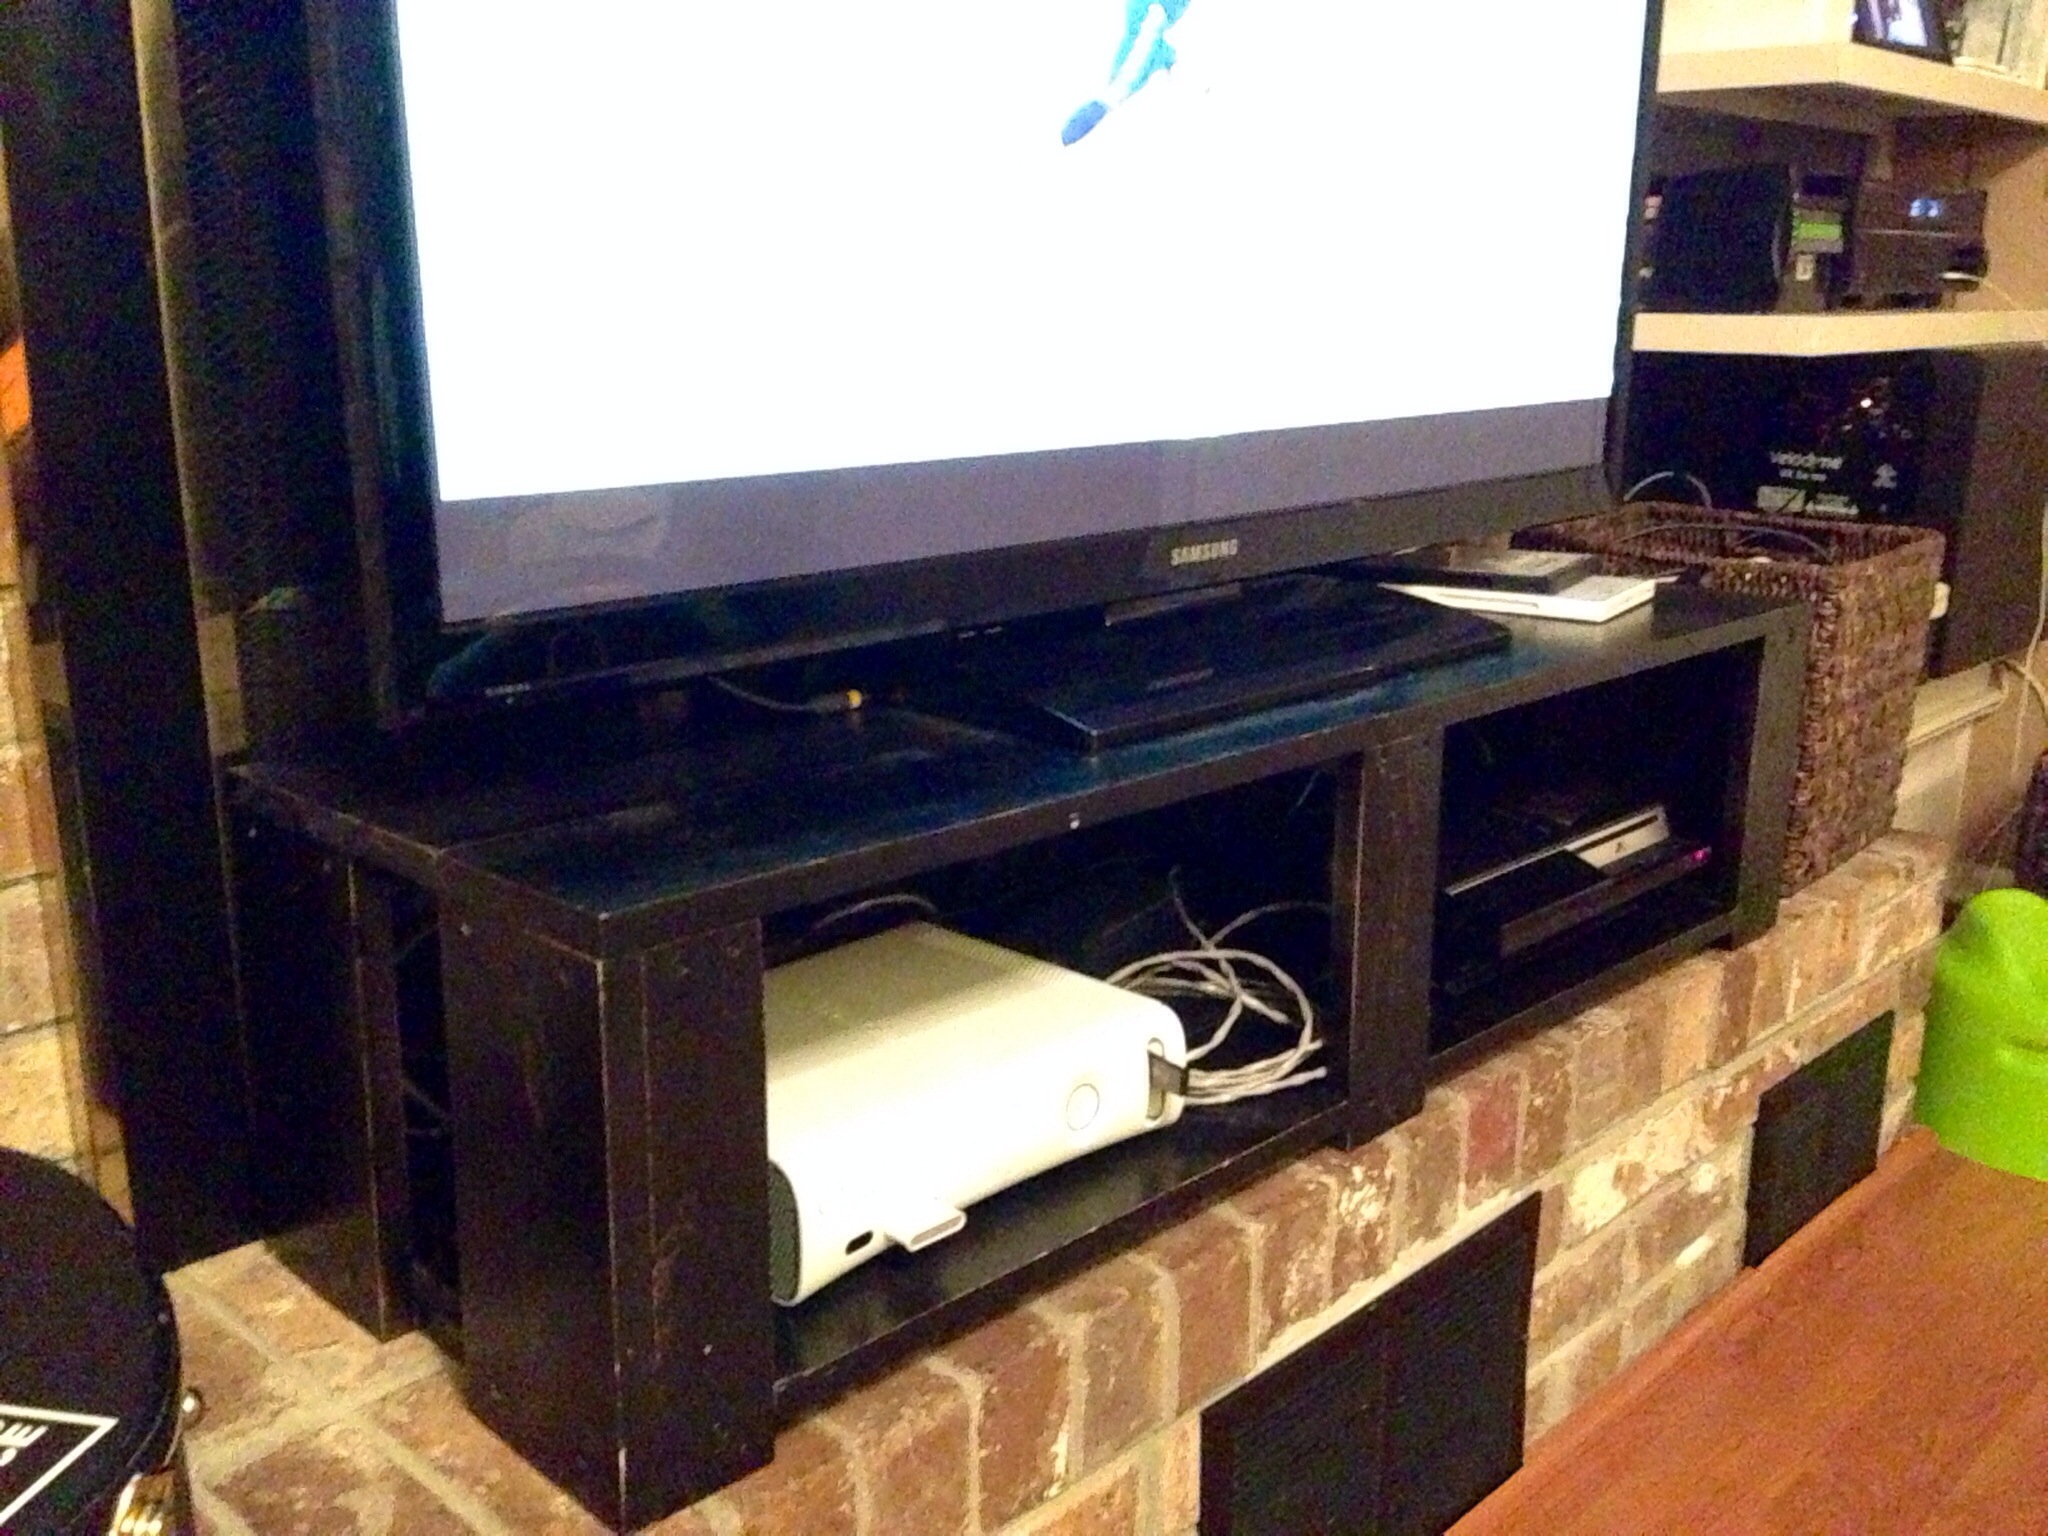
Thanks to this Ugmonk post where he talks about building his own monitor stand, I was inspired to build my own. I used my (free) wood of choice, pallets.
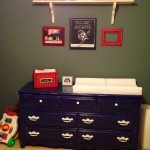
As you can see from the detail pictures, the pallet wood is far from perfect, but I appreciate all the little knots and saw marks. Because this is the desk of a working man! 😝

This was pretty simple to make. The most difficult part (as is always the case when making anything near “furniture grade” with pallette wood) was the intense sanding that was required to get the boards smooth.

I opted not to finish this with anything at this point, but I may eventually apply some Tung oil. For now, I just wanted to get it on my desk to see how it works. I’m super happy with it!

Side-note: if you’re curious about my desk, you can read about that here, and if you’re curious about some of the things on my desk (monitor, speakers, mug… etc), or even how I made my desk, check out the “my favorites” page.

The Treehouse Adventures

In late February, thanks to some nudging from my kids (and a slight case of Spring Fever), we decided it was high-time our backyard had a tree house. Our yard has a large number of tree-house-ready trees, so we actually struggled over which location would be best.

In the end, we decided the best place would be nestled between a live oak and willow oak, just inside the fence. Not only is the location perfect, with 3 large trunks/branches to support it, but being within the fence line, it helps prevent neighbor kids from coming over and hanging out on the tree house. Not that I wouldn’t be happy about that, but there’s a certain liability that comes along with that prospect.

Building this has been one of the most therapeutic and rewarding things I’ve built (I’ve built a few things). If you’re contemplating doing something similar, my advice is go for it, because you (and your kids) only live once!

To get started, I read a lot about some of the basics of building a tree house. E.g. what size boards should be used depending on the distance being spanned, what type of fasteners to use, how to make things level against an organic surface, etc. I also bought this handy little book. It’s full of awesome little tidbits and illustrations. While not meant to be a complete how-to, it provided plenty of light bulb moments and inspiration. Highly recommended.

I started construction February 25 (2017), and after a weekend and some help from friends/family, I had a basic platform installed with floor joists.

Since I am a web developer by day, it feels super good to get outside and work with my hands (and some power tools!).

As much as possible throughout this project, I tried to use reclaimed wood. In that platform, the joists are all new pressure treated 2x6s and hung with joist hangers, and the longest span (in the picture above) is a new pressure treated 2×10. But the other side’s 2×10 is a leftover from our old water-bed (yep, you heard me right), and the two side 2x6s are leftover frames from an old bunk bed that we never used for the kids that we got from some garage sale.

To fasten the boards to the tree, I used 4 or 5 inch lag screws and washers.

The next weekend was spent working out some details, like corner braces, angle braces, and corner beams for the eventual hand-rails.

Much of the braces are boards from pallets that we scrounged up (the final project probably has about 5-8 pallets in it), and the corner 4x4s were used to hold up an old lattice divider in the yard (the lattice has been gone/destroyed for quite a while).

Here’s a redneck stunt I pulled to get some of those pallets:

(I need a truck!)

By the end of weekend 2, we had half a floor!

As you can see, we also used boards from pallets for the tree house floor.

The next weekend, the first order of business was to finish the floor so the kids could come up and check it out. 😁

Time was limited that weekend, so I had to wait another week before I could start adding the hand-rail. Took me a bit to sort out how I wanted that to look. I didn’t want to have too many boards to obstruct the views (I wanted the tree house to feel open), so I left about a 6 inch gap between each board.

Well, it turns out my son can fit his head through that gap, and so Meagan was having none of that. So, back to the drawing board, and I had to add some lateral boards to make sure nobody was gonna be squeezing out. As you can see below, we took this opportunity to add a little flair and make it look like an authentic kid-built tree house (I mean.. I am just a big kid, so it’s pretty accurate).

We let our kids, their cousins, and some of their friends paint their names and other things on a few boards, and nailed ’em on!

Another end to a successful weekend.

The next weekend, we finalized the other 2 sides (minus the door). We got a little creative with those sides to try and work with the trees’ structures.

This is the point where I consider the top “habitable” and began working from the tree house.

Of course, some people had fun with this.

The next step was to build the door/gate. I used a gate latch and built a crude rope/pulley mechanism that allows the kids to open the latch from below the door. I posted a video at the end where you can get a general idea.

Once that floor was complete, it was time to begin construction of the first level, half-way up. I wasn’t sure I was going to go that route, but once the main part was complete, it just seemed like the best way to go.. It would provide a bit of a safety net on the side where the kids would climbing in/out of the top, and allow them to have multiple levels to their “tree condo”.

At first, I attempted build the platform without adding the additional 4×4 supports on the outer corners, hoping the angle braces would be enough. Unfortunately, they didn’t provide enough structural shear-strength, so I had to dig some holes, pour some cement and install some ground-rated 4x4s. Once those were in place, the platform structure was as solid as a rock.

We then got the sides built:

At this point, the only thing missing is the ladders. Surprisingly, building these was some of the most difficult work in the whole process.

Phew! This has been a ton of (fun!) work. Happy to see it come together. Here’s a quick video tour:

You might be wondering, “what’s next”. Well, the grandparents purchased a tube slide as an early birthday/Christmas type of gift (ssshhh they don’t know yet), so we’ll see about installing that once it gets in (we got it installed! Scroll down to see). 😁 The adventure never ends! Thanks for hanging with me this far. If you’re interested, page 2 of this post is a big gallery of images from the process. Hope you enjoyed!

Update 5-14-17 we got the slide installed!

Pallet shelf with coat and key hooks

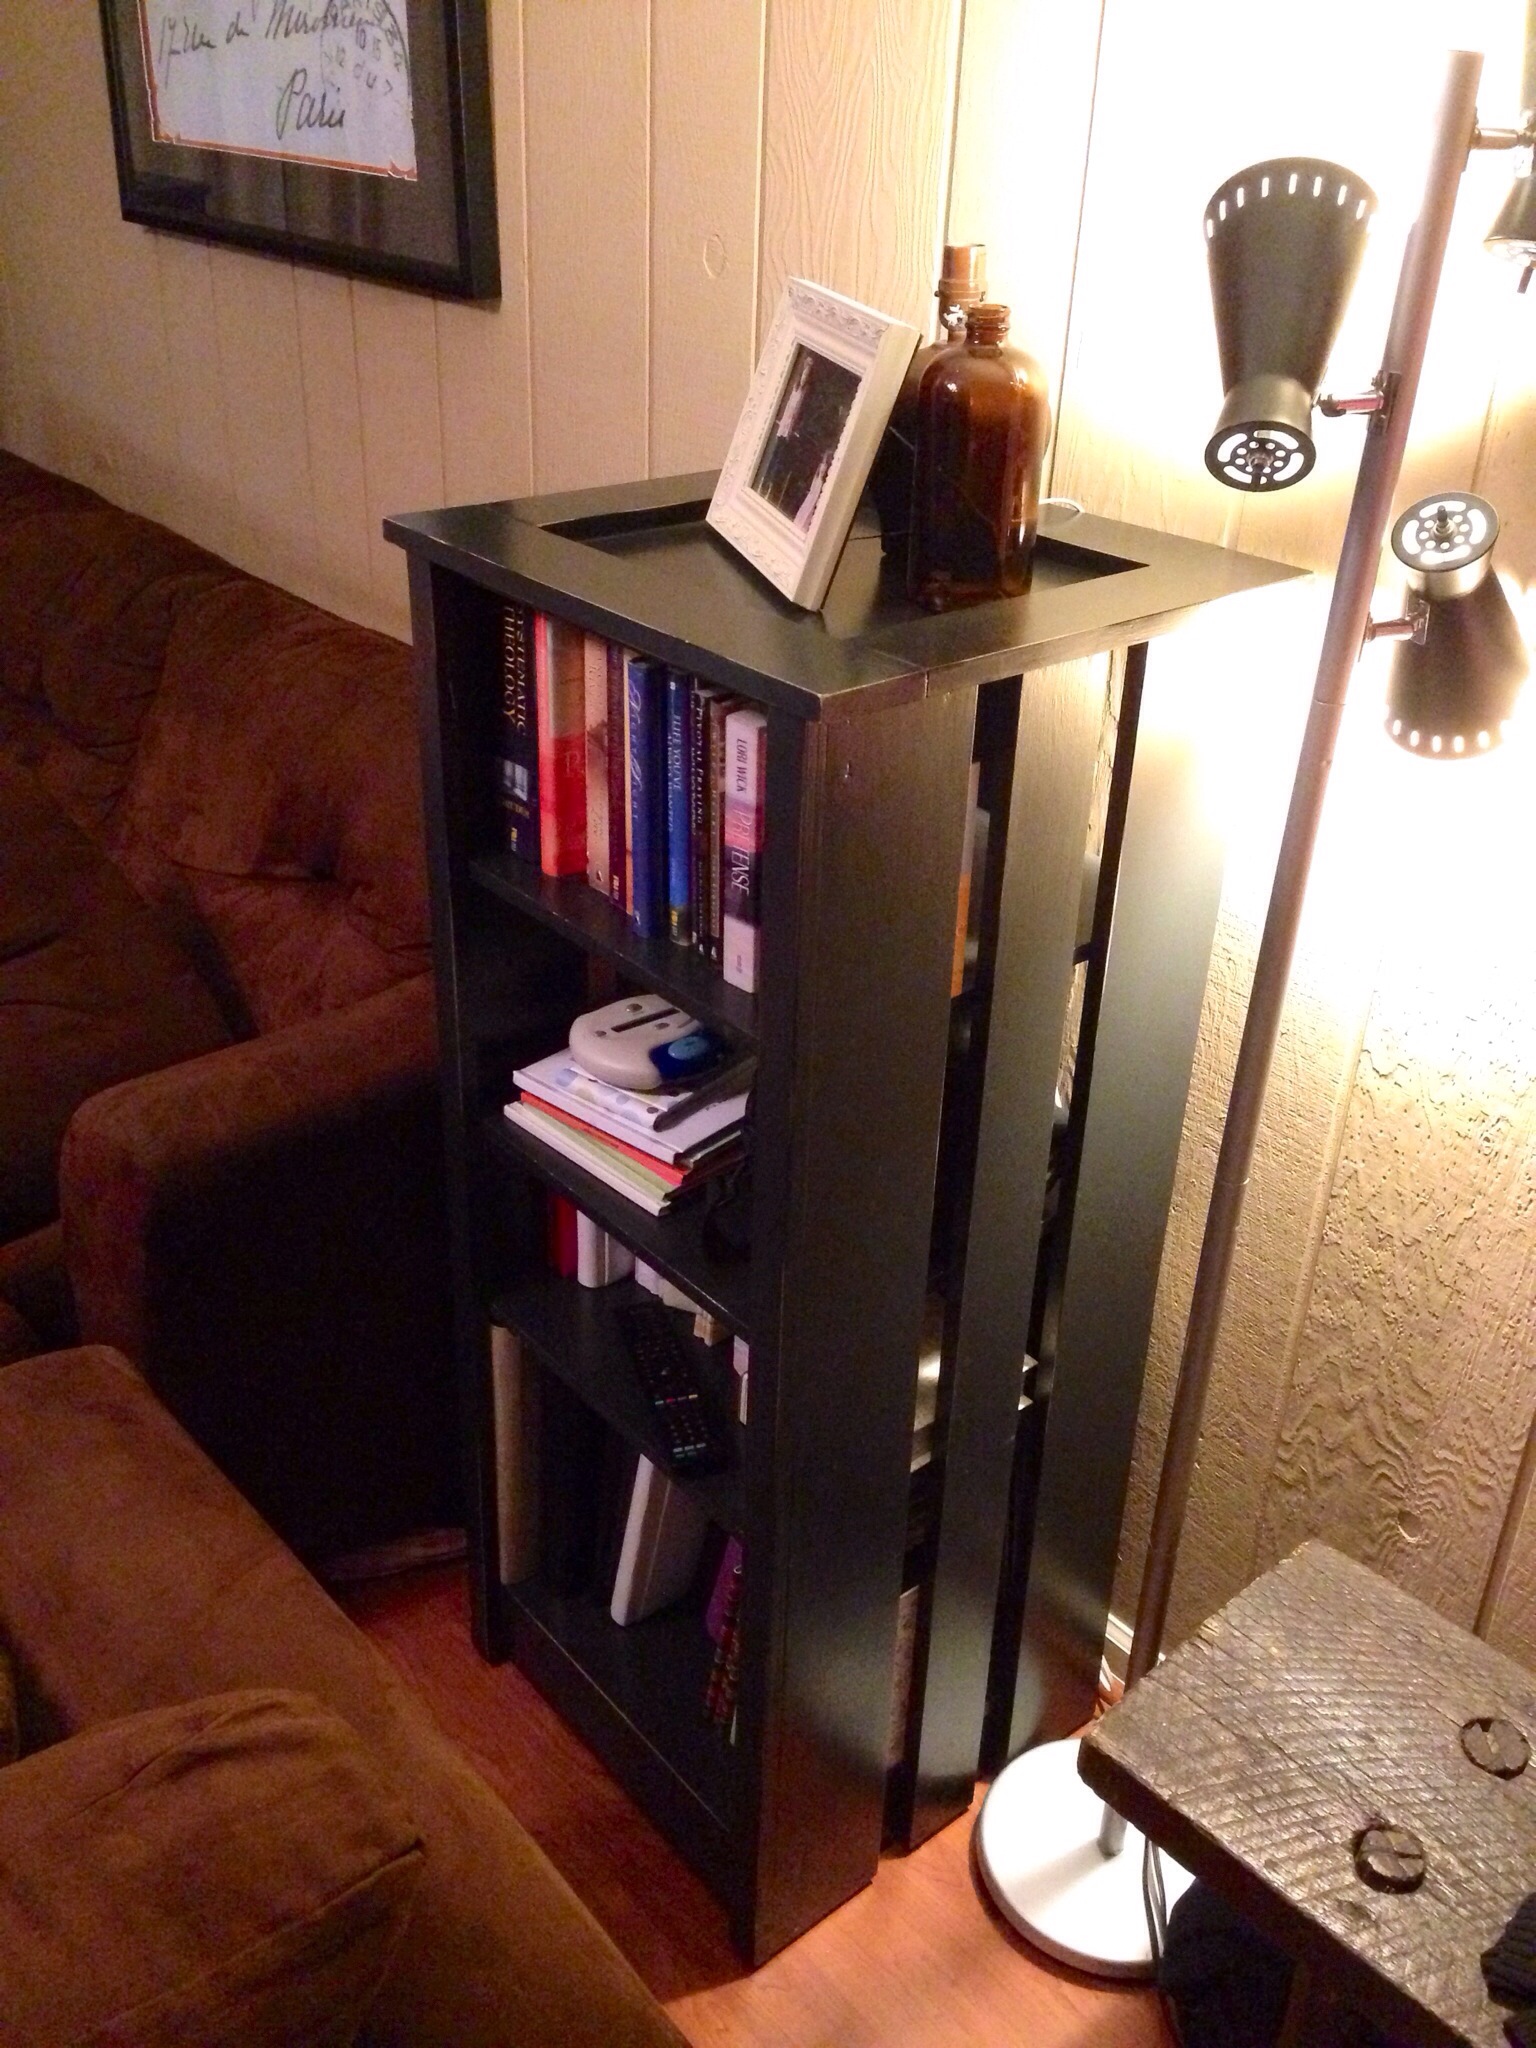
Another pallet venture. This is modified from some pictures we found on Pinterest. In those pictures, the ones that had coat hooks had them attached to the front piece of wood, but that won’t work for us since the door would open into them. Instead, we got some celing hooks to attach underneath, and a couple standard coat hooks to serve as decorative “key hooks”.

DIY Dining Room Table refinish/painting

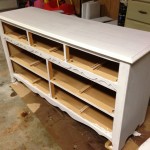
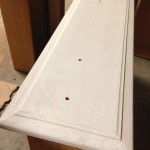
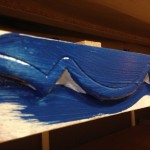
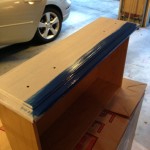
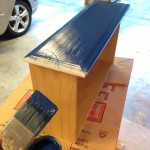
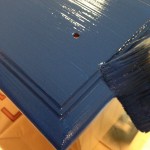
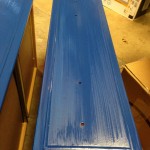
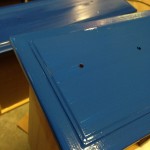
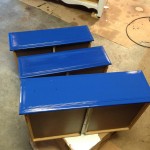
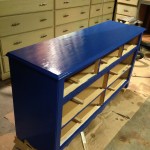
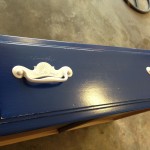
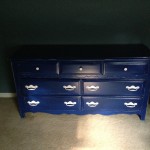
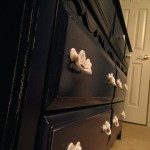
Here’s a recent project I took on. My wife has been begging me to do something with a dining room table for a while. I’ve been reluctant to paint the one we have because it has a laminate/formica top, and I wasn’t fond of the idea of the finish chipping off.. But after some research, I felt more comfortable with the idea. After sanding the crap out of it, I ended up using oil-based kilz as the bonding primer. My cousin Pete suggested XIM, but I had already completed the priming process, and I’ve had nothing but good experiences with kilz over the years. But while talking to him, I did get some invaluable advice for which products to use to ensure durability for years. Since This table project is not something I’m looking to repeat any time soon, I took his advice to use a lacquer paint followed by a lacquer clear-coat. I hauled it over to a friend’s cabinet shop where he let us loose with the HVLP cup gun. We gave a it a couple good coats of white, came back the next night to scuff it up a little to give it that touch of shabby chic, and then gave it a couple good coats of clear.

Overall, I’m super happy with result, and I think it’s going to hold up even in our hazardous environment (we have 3 kids, I’m sure you understand).

Operation Desk: DIY desk and shelves

I decided to build a desk since the prices of nice desks are astronomical, and since I wanted it to be a custom fit for me. I knew I wanted more desk space, but didn’t want to necessarily build a giant desk, so I opted instead to build two side shelves that could serve as an extension to the desk. This is super convenient if I ever needed to use the desk in a smaller location or if I wanted to position the shelves differently.

Since it’s a style i’m familiar with (and like), I decided to build it using a similar technique to how I built the media cabinets, and the tv stand. The main difference being that I wanted to stain this piece, so would need to have a better solution for the nail/screw holes. I ended up buying a pocket hole jig from lowes, and that solved the issue (almost) perfectly. Since pocket holes aren’t quite as strong, I had to do some additional reinforcement on the desk legs to keep them straight.

I had a few mishaps along the way and not everything lines up perfectly, but overall I’m really happy with how this project came out. Below are some pictures of the project in progress, and completed.

Because no DIY project would be complete without before pictures. ;)

 Before:

Phase 1: Build it

Phase 2: The finish

Phase 3: Putting it all together

Probably 5 too many pictures, but what the heck.

Gratuitous details

DIY Macbook Pro Laptop Stand

$50 for this? looks nice, but common!

How about making my own?
YES! i can do that…

So here it is. i’ll update this post when i get around to painting it.

*Update*
Ok, i got around to painting it… kinda gave it an aged look… to match the whole apple experience.
Ok, the last part was a joke.
*Update #2*
Ok, for the ultimate finish, thanks to a donation of two fans and a power adapter by @sr_tirado. Check it out!